
Originally posted to our old website in November of 2018. Reposting and updating it here. I’ve done a lot of these totally frozen messed up bolts over the years. Unfortunately bolts corroding solid are a fairly common outcome from many folks ignoring basic maintenance on the old leaky breech systems. If you have one, the short answer is to remove the bolt from the rifle, purchase our system with installation service, and then send me the bolt. If you want the long answer keep reading:
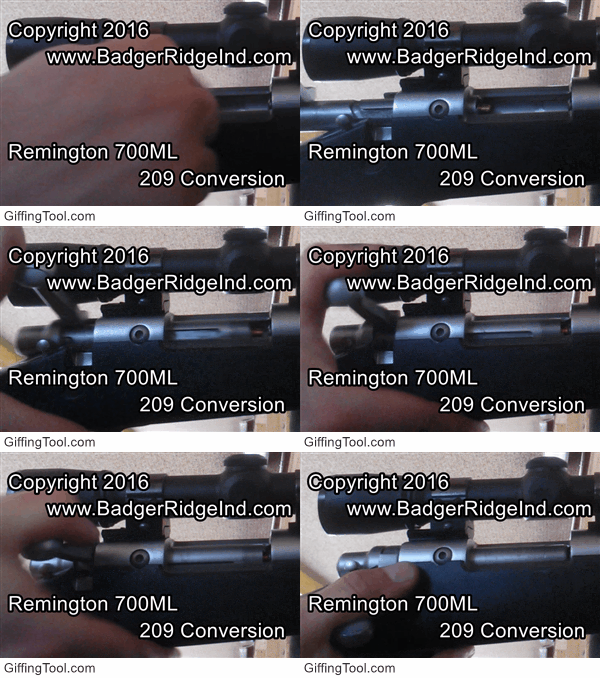
Welcome to the blog of the company that has the best fix for your Ruger 77/50 and Remington 700 ML/MLS. Our sealed breech 209 modifications are the fix for blow-back, miss fires, etc. Our kits are Blackhorn209 compatible and seal up the breech with 209 primers. If an internet search brought you here, your search is over. This blog has lots of articles about those two rifles and our products for them. You can click on the links in them or in the banner at the top of the screen to find the items you may be interested in.
The Remington 700 ML and Ruger 77/50 muzzleloaders are our specialty. They both came from the factory with the same fatal flaw: blow-back coursing backwards through the bolt from each firing. The Remington and Canadian 209 mods didn’t improve this. If anything they only made blow-back worse.
If not quickly and properly cleaned after firing, the bolt will corrode and freeze up. Our kits correct this fatal flaw by sealing up the breech. But not everyone has our kit yet, and seeing these rifles are all 20 plus years old, it’s all to common for some one to have shot and then put it away without a proper cleaning. Be thankful if the bolt was at least removed! Getting a frozen bolt out of a rifle is a nightmare!
So beyond installing our 209 system on bolts that have been well to decently cared for, we frequently get challenged when folks send us neglected froze up bolts. Sometimes we get them before they get beat on, other times we get to see if we can pick up the pieces and make it work. You can read more about some of the crazier ones we get here in the “Badger’s Den” and get more specific help troubleshooting a Remgington 700 ML by clicking the “Maintenance and Troubleshooting guide” of the Remington 700 ML Resources section. We also have a Ruger 77-50 Resource section too.
If you have a tough Remington or Ruger bolt, or any questions, remember you can call us at 989 795 2526 or reach out to us via our contact form. We’ll get back to you with a cell phone number and email address so we can start the process!
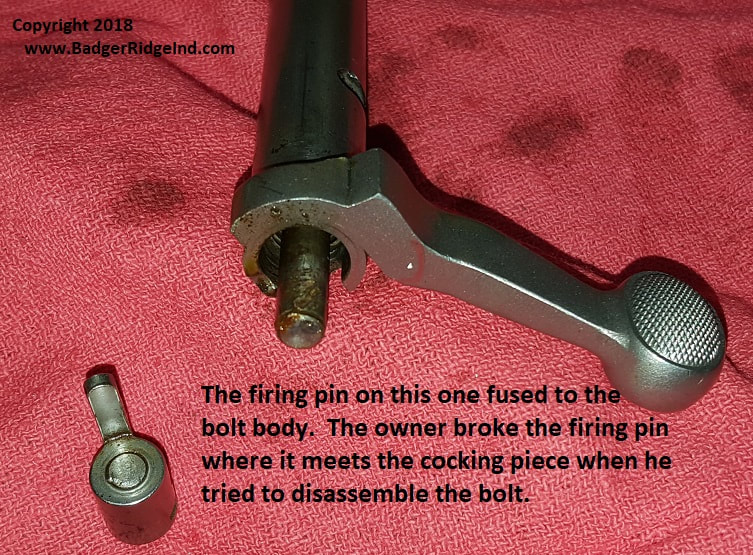
When the owner of the bolt seen here contacted me asking if I could help, once I replied to him, he was thoughtful enough to text me pics. After looking at his pictures, I was pretty sure I could fix it: But I wasn’t certain what parts of his I could salvage and what parts I would need to replace. The bolt plug looked good, which was surprising… usually when folks try to take these apart and break them they mangle something, and typically that is the bolt plug.
So I counseled him that I was confident I could fix it, but couldn’t be sure of the price until I had it in my hands, tore it down, and scrubbed it all clean. I commonly have to sell new components in cases like this, or have to ask for some more money beyond the basic install fee for my time and tools/materials I put into fixing these.
I told him to start by buying our standard Remington 700 ML-MLS kit with installation, then send me the all the pieces he had from the bolt, and we’d take it from there. If I needed more money I’d let him know.
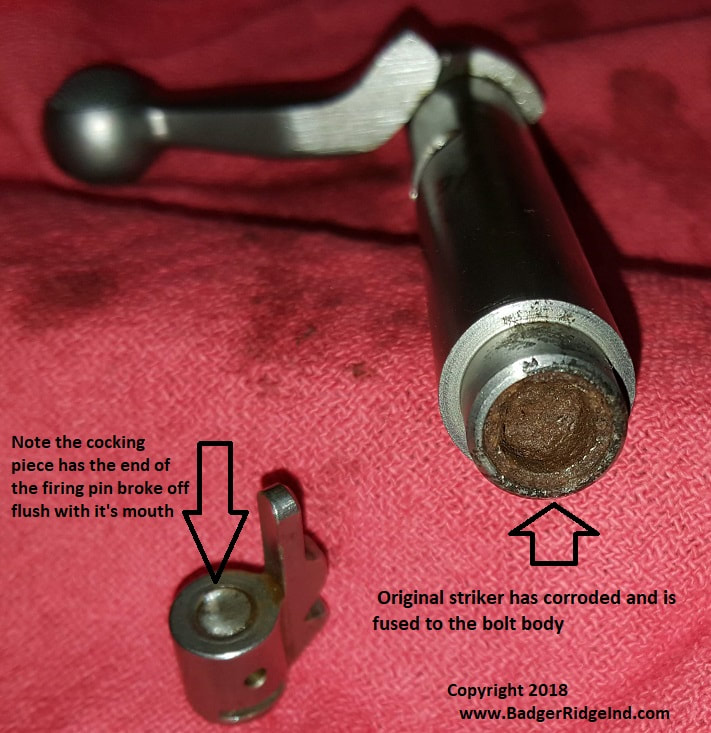
When the parts came, it was very clear that the striker/firing pin was fused to the body pretty solid. I tried my normal tricks to get it loose, and even tried to press it out with my jig and 12 ton press. It wouldn’t budge. So I began flushing the gunk I could out of it from the back end of the bolt, and tried the jig and the press again. No luck. It actually kept breaking the sacrificial pin I built into the jig to keep from over stressing stuff: This bolt wouldn’t break free. Frustrated: I filled the back end of it up with Kroil penetrating oil to sit over night. Worst case, I’d have to chuck this in the lathe and drill the firing pin/striker out from the opening in the bolt nose.
I then turned my attention to the cocking piece. The cross pin was out. So I chucked it up in my lathe and tried drilling it out left handed, that normally does the trick but it didn’t budge. So I tried small holes with screw removers wedged in, and every other trick I knew, but it wouldn’t budge. So I ended up just drilling it out and leaving the little spiral of the V from the thread in it and then picking that out. It was a bit tougher than removing a screw from a blind hole as it all kept fracturing where the cross pin was drilled through, and it’s a deep hole proportionally to its diameter. But eventually I got the portion deep towards the bottom out with a bottoming tap and a small dental pick.
I’m glad I could save the customer from having to buy a new cocking piece (we stock the unthreaded version of these cocking pieces for customers in this situation and have special firing pins for our kits that work with unthreaded cocking pieces).
I left the bolt body to sit for the evening so that the penetrating oil could do its work. When I came back the next morning none of the Kroil had seeped through to the nose. That wasn’t a good sign, as it meant that pin was wedged in there and sealed. I tried the jig and the press again. I sheared the breakaway pin again (I was really getting frustrated having to fab more break away pins!).
So I made a new jig that didn’t have a shear pin. Either I was going to break the pin free of the bolt body, or I’d break the bolt in the press. I probably should have just chucked the bolt in my lathe and drilled it but I was pissed and moving forward: At this point I falsely felt I had nothing to lose. Luckily for the customer the 12 ton press and the new jig (and probably the Kroil) did the trick, the firing pin/striker busted free of the bolt body, but bent the old firing pin the the process, which made it super tricky to get out, but I managed to get creative and work that one out too.
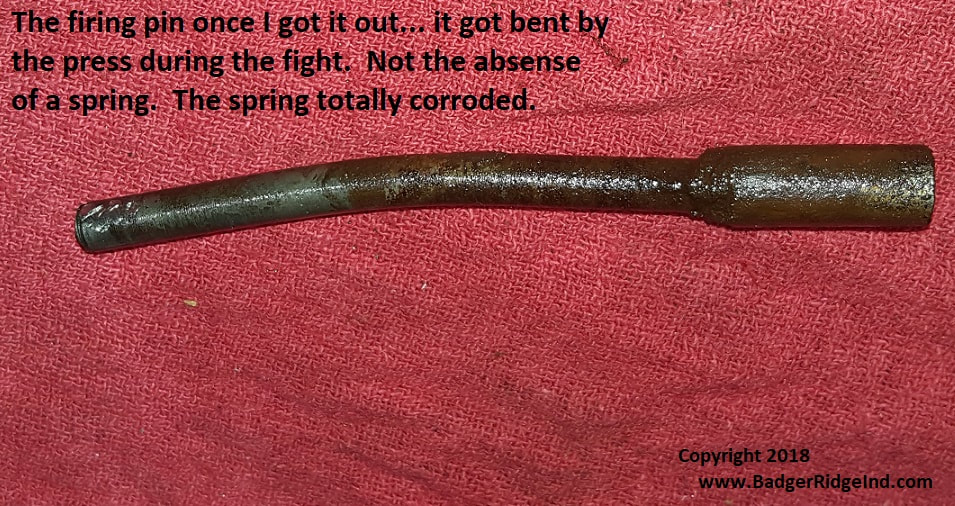
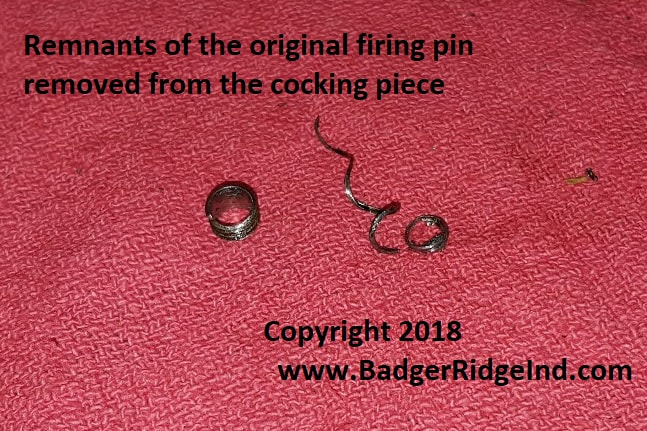
I was amazed. Typically when I break these apart there are sections of mainspring that come out. In this case the mainspring had completely corroded. It must have been all that corroded mess that I had flushed out the first evening!
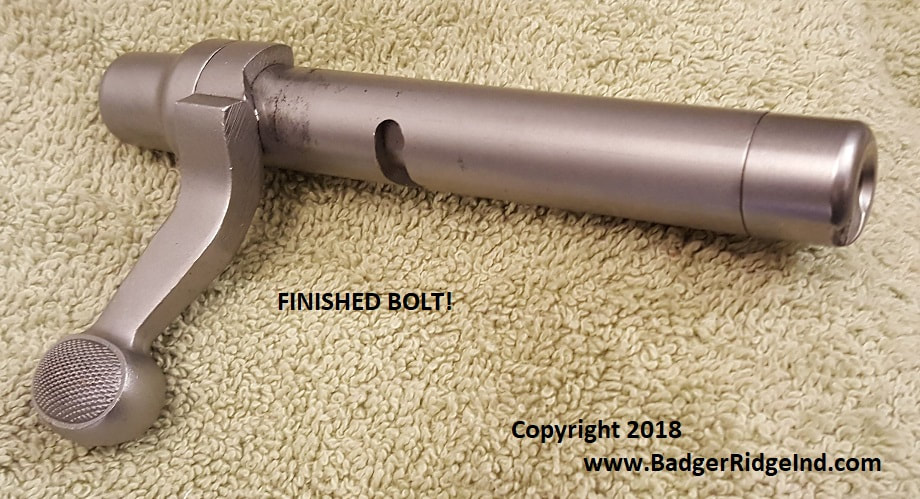
Anyways from here it was just cleaning up all the crud, and removing any pitting that would interfere with the new firing pin. Now that I had the parts all apart and cleaned up: it was just a normal installation.
I did ask the client for a little more money for my time, broken shear pins, and use of my lathe and sent his bolt back to him: Crisis corrected.
If you have a tough Remington or Ruger bolt, and want a convesation please feel free to reach out to us via phone (989 795 2526) our contact form. We’ll get back to you with a cell phone number and email address so we can start the process!
But all you really need to do is get the bolt out of the rifle, purchase our conversion with installation service, and get me the bolt. I’ll figure it out and get back to you.
Preserving a comment from the original website below:
Comment from Eli bowman 10/13/2019
Was sick of my 700ml to many misfires then I come across a like a new gun. I had Badger Ridge 209 install the conversion into my bolt. I love the way it pushes the 209 into the breech plug; highly highly recommend if you have a 700 ML. It’s worth every penny for this conversion and really like the hand written thank you for your purchase that came with my kit.
Badger ridge, thank you for quality kit. Keep up the great work! Got 3 buddies that have 700ml s so I’m sure you will get there business when they see mine!
Reply from Badger Ridge (Tom) 10/13/2019
Thanks for the kinds words. We look forward to helping your friends as well!